Do you want to renovate your house from top to bottom without the need for tedious building work? Now you can make it possible in the easiest and most economical way by applying microcement on the walls or other surfaces of your home.
And we know that your living room is your living room, and you love it very much, so if you are tired of the monotony and want to let your creativity flow, the time has come to give a more personal touch to the living room, bedrooms, kitchen, bathroom, even the exterior facade! Of course, we can assure you that you don't need building permits or to fill your house with rubble.
Undoubtedly, the walls are one of the parts of the house that is most affected by the passage of time. To renovate them you can choose to put a crew of workers making noise and raising dust for x time, and leave you without savings, or you can bet on the alternative that is revolutionizing the decorating industry. It's up to you.
DIY renovations are the trendy thing to do
We are at a time when users are looking for faster and cheaper ways to change their homes. And if on top of that there are materials that allow them to do it by themselves without hiring labor but getting professional results, even better.
So, in the same way that to make a super dish for dinner is not mandatory to hire a chef with 3 Michelin stars, to renovate your spaces is not necessary to hire a professional. This is thanks to the entry into the market of new products with which you can join one of the latest trends in the sector such as microcement for walls.
A coating for a DIY reform for which you just have to have a little grace and follow the manufacturer's instructions. You don't have to be a handyman or put on an endless YouTube tutorial. Want to know more, read on!
The microcement on walls is convenient for many reasons
We explain it quickly: good, nice and cheap. Unlike traditional materials, coating your walls with microcement gives you the opportunity to decorate your rooms according to your tastes and preferences. You can play with it as much as you want because it has a multitude of textures and finishes.
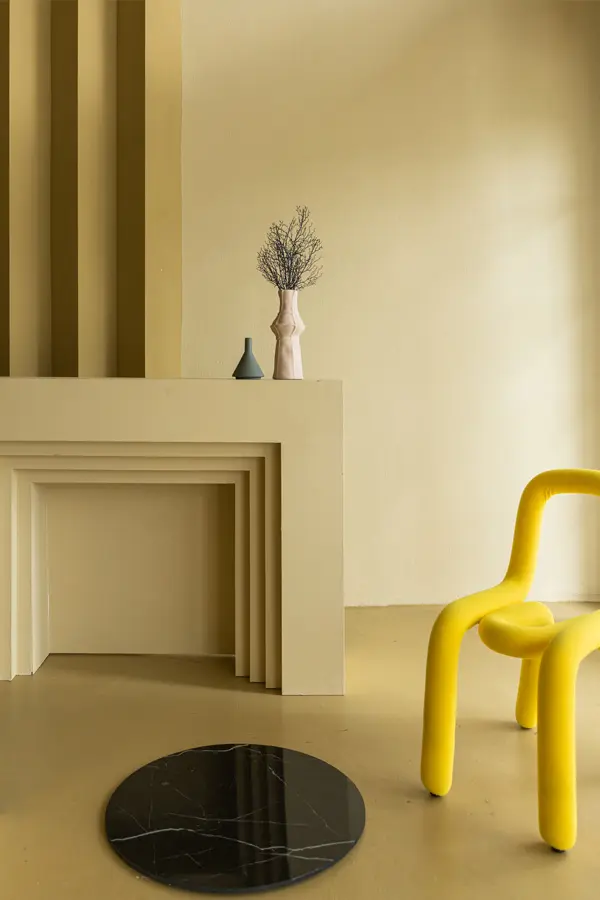
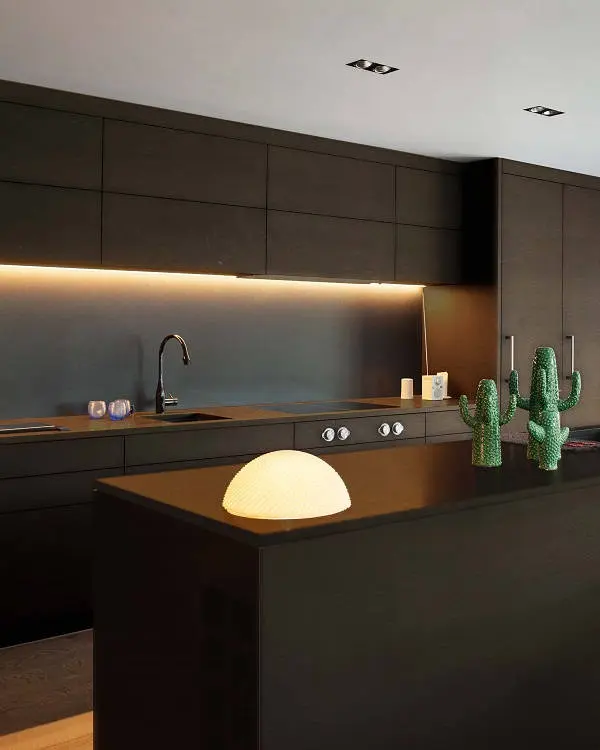
But do you know what one of its biggest advantages is? You don't need previous experience in the application of construction materials. But that's not all, because this material has many more good things that we will explain below.
It is one of the most economical coatings
As we have already mentioned, you can install microcement on walls with your own hands. Building permits, tile removal and unbearable mountains of dust are a thing of the past.
There is nothing more practical than a renovation without building work.
To apply this coating you do not need to remove the existing substrate, microcement adheres to any surface and material. This considerably lowers the price of renovating all your spaces and we assure you that the application process is a lot of fun.
So yes, getting the house of your dreams is as easy as following 3 steps: decide which room you want to renovate, choose the color you like and let's get started!
Easy to clean and simpler to maintain because of its non-jointedness
Keeping the walls of your home spotless is sometimes mission impossible, and if you have kids who love to show their artistic talents on them, we have good news for you.
In addition to providing amplitude, having no joints, this coating makes your life easier. To clean your coated walls, you only need water and neutral soap. And if that were not enough, the microcement is a continuous coating that has no joints. Forget about the accumulation of dirt and scrubbing the walls of your house, and give yourself the opportunity to enjoy a quality and hygienic design. Meanwhile, to keep them as if they were always brand new, just apply our waxes.
Microcement walls for more resistance
The ceiling is also a fundamental piece to gain space in a small living room. If you take a look at the walls of your house, chances are that you will find some of them chipped by knocks from chairs or tables. There is nothing more annoying than investing in work and the results only last a few months like new. With microcement this is over.
The properties of this coating make it a material resistant to all kinds of blows, weather changes and the passage of time. As you read, this coating gives you the peace of mind that no matter how many years go by, its appearance will be practically the same as the first day.
An endless catalog of colors and textures
Whether you are more of a rustic or contemporary style, the colors and textures you can find in microcement are limitless. The time has come to say goodbye to white walls throughout the house and welcome creativity.
One of the advantages of this wall covering is the large number of finishes you can play with. With it you can create the visual effect that is very fashionable in the sector: differentiate some walls from others by varying the colors. From now on your home can have bathrooms with a stony touch and, at the same time, bright and youthful rooms.
Do you dare to take a risk with the decoration of your home?

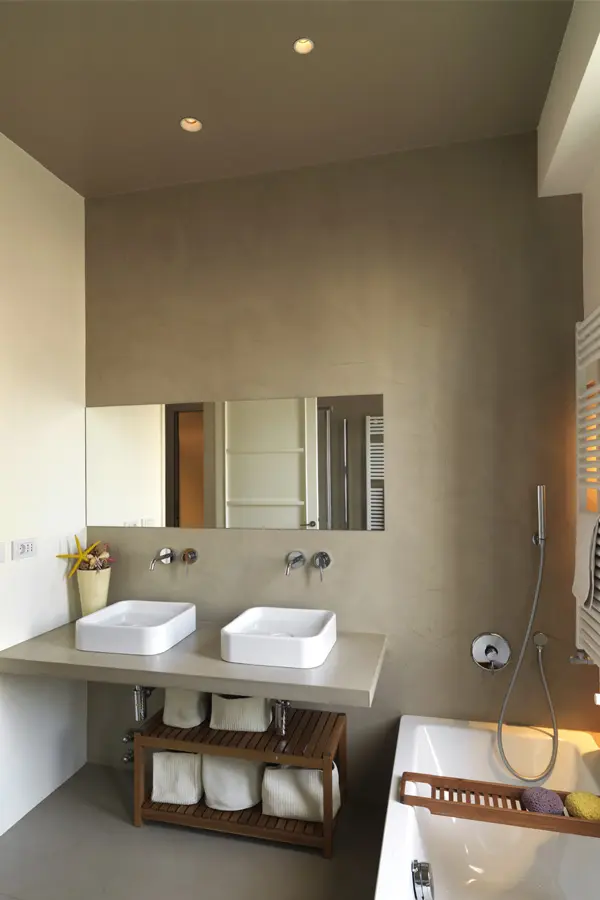
Walls of microcement in kitchen resists water
Kitchens, along with bathrooms, are the spaces in the house where most moisture accumulates. The faucet running with boiling water, cleaning the countertop, scrubbing the floor, the pressure cooker releasing steam non-stop.... Therefore, we are clear that there is no better choice than to coat your walls with microcement because it is a material with very advanced anti-humidity properties, able to remain intact in direct contact with running water.
And also to stains and abrasion
The microcement is composed to withstand everything necessary and more. Thus, in addition to being victorious against moisture and its derivatives, it also successfully opposes the stains that are so common in spaces such as kitchens.
We introduce you to the perfect coating to be very close to the fires, glass-ceramic or induction hobs in which a very high number of splashes of oil, tomato or any other ingredient you can think of are produced.
Not to mention the food stains that are embedded in the walls that are worse than a horror movie, but by coating the walls of your kitchen with this material, the problem will disappear as easily as it is cleaning and maintenance.
In addition, it resists the wear and tear that usually occurs in kitchens due to the rubbing and banging of utensils such as pans, pots and pans or cutlery. This means that the wall of your kitchen will remain as if nothing had happened, before any attack that may suffer.
Microcement walls on on interior: beautiful and durable
There is no better showcase for a decorative coating such as microcement than the walls found in interior areas. This is because of its verticality and because they are the areas that are most visible and most let you appreciate at first glance the characteristics of this great material.
In addition to the resistance to shocks, scratches and other mishaps that usually occur in hallways and other rooms of the home, who does not want to see the level of finishes that can be obtained and that are able to transform our spaces into others?
Get ready to enjoy the walls of your bedrooms, living rooms, bathrooms, kitchens or garages in your home or commercial premises for as long as possible.
Microcement walls on the outside? You can do it too!
Do you have a villa, townhouse or similar? If you are one of those privileged people, you should know that the qualities and resistance that has the microcemento also shows outdoors. Thus, neither rain, nor hail, nor sudden changes in temperature, nor even constant exposure to the sun's rays can damage the walls where it is applied.
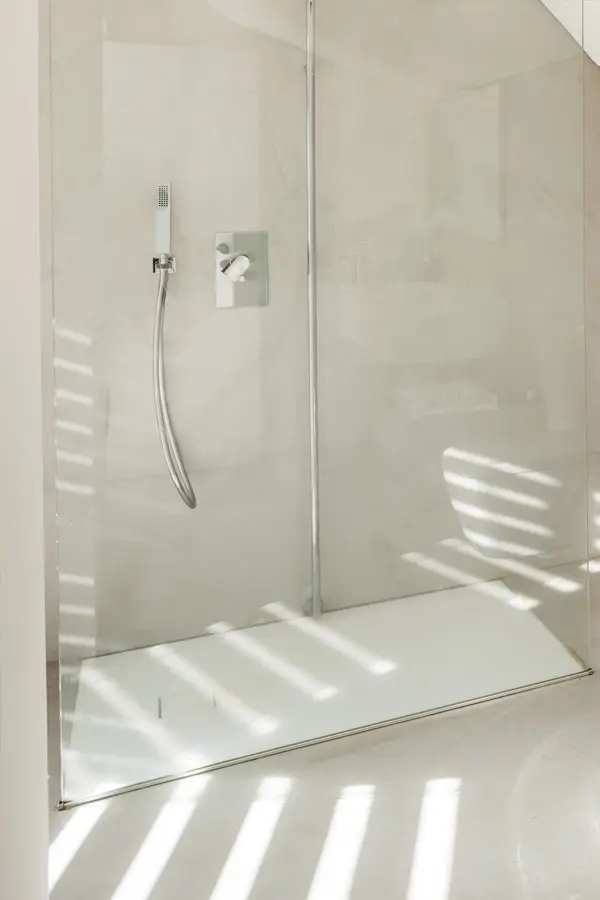
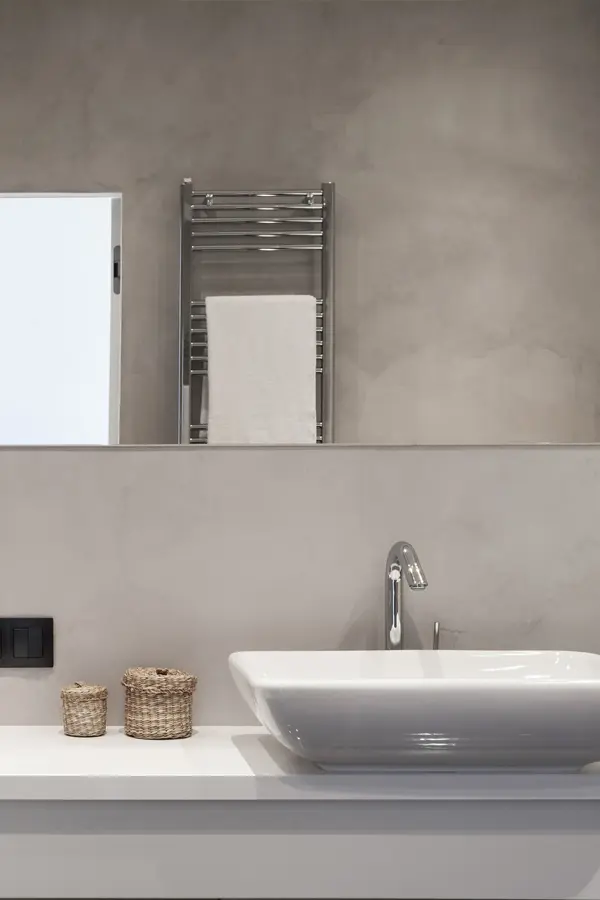
Laying microcement on walls: 2 different processes depending on the material
The application of microcement on walls is a quick and easy process because it is a coating of only 3 millimeters thick, which is applied on any type of surface and is made to open and use. But, let us explain that depending on what material you want to coat, the application follows one method or another.
If you are worried about the surface you want to apply, calm down, because whatever material it is, you will be able to give it a 360º turn.
How to make microcement on walls on non-absorbent materials
On non-absorbent surfaces such as tiles, terrazzo or tiles, the laying of microcement is different but do not panic because the process is still as easy and fast as we explain below.
First of all, you have to clean the surface of dust and grease so that the coating adheres properly. Outline the areas you want to coat and apply a coat of Smart Jointer. After letting it dry for 24 hours, sand the surface with 40 grit sandpaper. Once this is done, it is time to apply a coat of Smart Primer Grip and let it dry for 2 to 4 hours. Now it's time to give life to your walls, apply two thin coats of Smart Base with a steel trowel leaving a margin of 6 hours between coats. Don't forget to sand it afterwards with a 40 grit sandpaper.
Here come the last two steps: apply two thin coats of Smart Smooth with a rubber trowel and leave 6 hours of drying time between coats. Once applied, wait 24 hours before applying three coats of Smart Varnish with a roller to protect the coating. Allow 2 to 4 hours between coats for drying.
If you do it this way, we promise that the walls of your house will be as good as new in less than a week.
How to make microcement on walls on non-absorbent materials
What happens then with plasterboard walls, plaster or similar, which can not be covered with microcement? Of course it can! Now we explain it to you.
As with tiles, absorbent surfaces must be cleaned beforehand to ensure that there are no traces of dust or grease. Once you have delimited the area of the wall where you are going to apply the microcement, apply a coat of Smart Primer Abs and wait about 30 minutes until it dries.
After that time, it is time to apply two coats of Smart Base with a steel trowel, leaving 6 hours between coats, and sanding each coat with 40-grit sandpaper.
The next step is to apply two thin coats of Smart Smooth with a rubber trowel, again allowing 6 hours between coats for drying. Now it is time to protect the microcement, you will achieve this by applying 3 coats of Smart Varnish with a roller leaving 2 to 4 hours between coats.
We recommend that each layer is sanded once the drying time has elapsed to achieve a flawless finish.
Now you just have to take the step to enter into a high quality reform capable of leaving your walls like new.
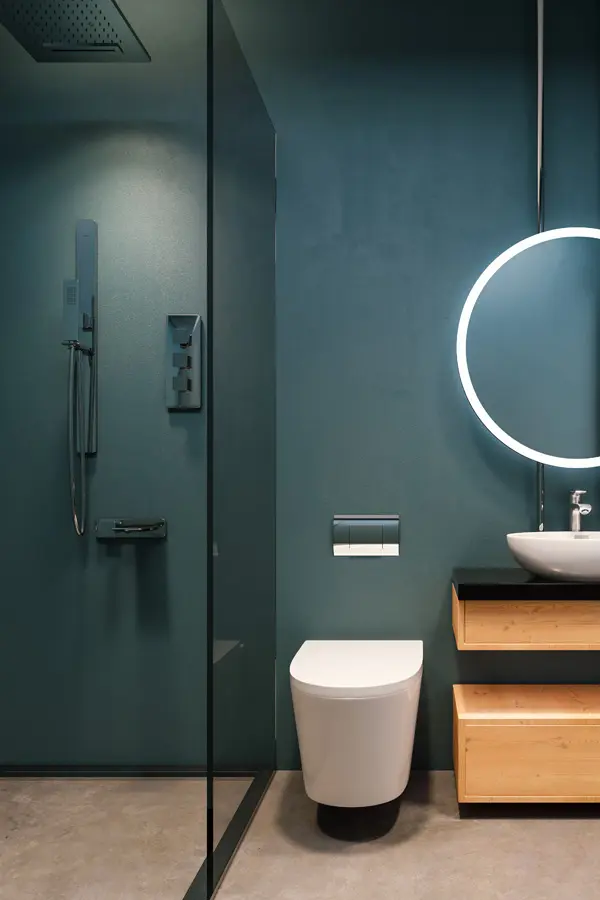
How much it costs to put microcement on walls: little with Smartcret
What makes ready-to-use microcement one of the most economical coatings in the industry?
Quite simply. Given its great adhesion to any existing support, to apply this coating is not necessary to make previous works to remove tiles, marble or any other material. By not needing specialized labor and being able to carry out the process yourself, the cost of the application decreases considerably.
With this coating you do not need to mix any components, the color you like is pigmented in the material. In addition, you have the advantage of paying only for the square meters you want to cover. No more, no less. With Smartcret's ready-to-use microcement, you won't have any last-minute surprises, those that make you not want to renovate your walls.
Coat your walls with ready-to-use microcement now
Your house is crying out for a change of style that starts with coating your walls with microcement. Now that you have seen the many benefits offered by this material compared to other coatings, don't you think it's time to take the first step?
Get your hands ready because the house of your dreams is getting closer and closer, in Smartcret we believe that there is no better way to achieve it in such a short time than with our ready-to-use microcement, a material that is placed on the surface you want to renovate, with which you will save the works but with which you will get professional finishes to your liking. As you do not have to mix components, you only have to decide the finish you want for your walls, open the bucket and start.
Take a look at our catalog and choose the microcement kit that best suits your needs and start transforming your home now!