DIY renovations: from an old house to a modern one with Smartcret

Here we bring together the renovations our customers have carried out with Smartcret microcement kits: bathrooms without removing the tiles, kitchen splashbacks, floors, fireplaces and furniture. All of them were applied by people with no previous experience, using the kit that matched their surface and their square metres. If one of these renovations looks like yours, the kit page tells you what is in the box and which surfaces it covers; the times for each coat are in the application guide.

DIY renovations: from an old house to a modern one with Smartcret
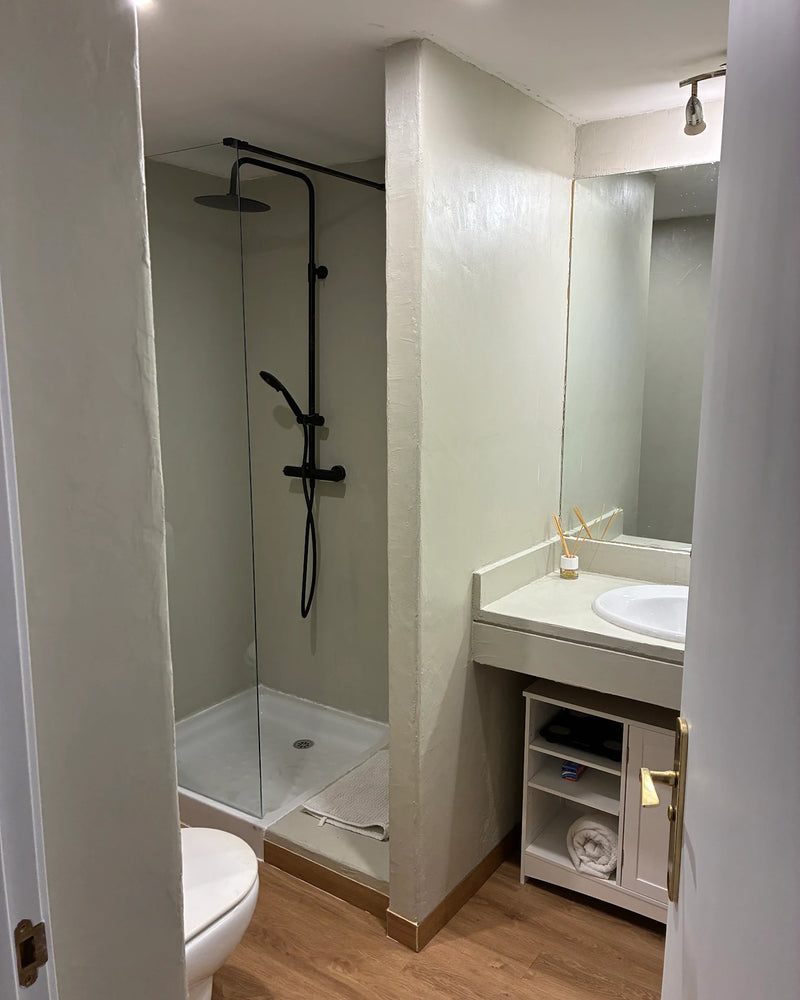
Ignacio Barahona’s bathroom, after
Bathroom

Ignacio Barahona’s bathroom

Color Liquen · 16 m² · Azulejos

He renovated his bathroom with a microcement kit applied over the existing surface, without building work. He shares the before and after photos of the same room. Review published on Google.

Renovation by Ignacio Barahona

See the kit for this project
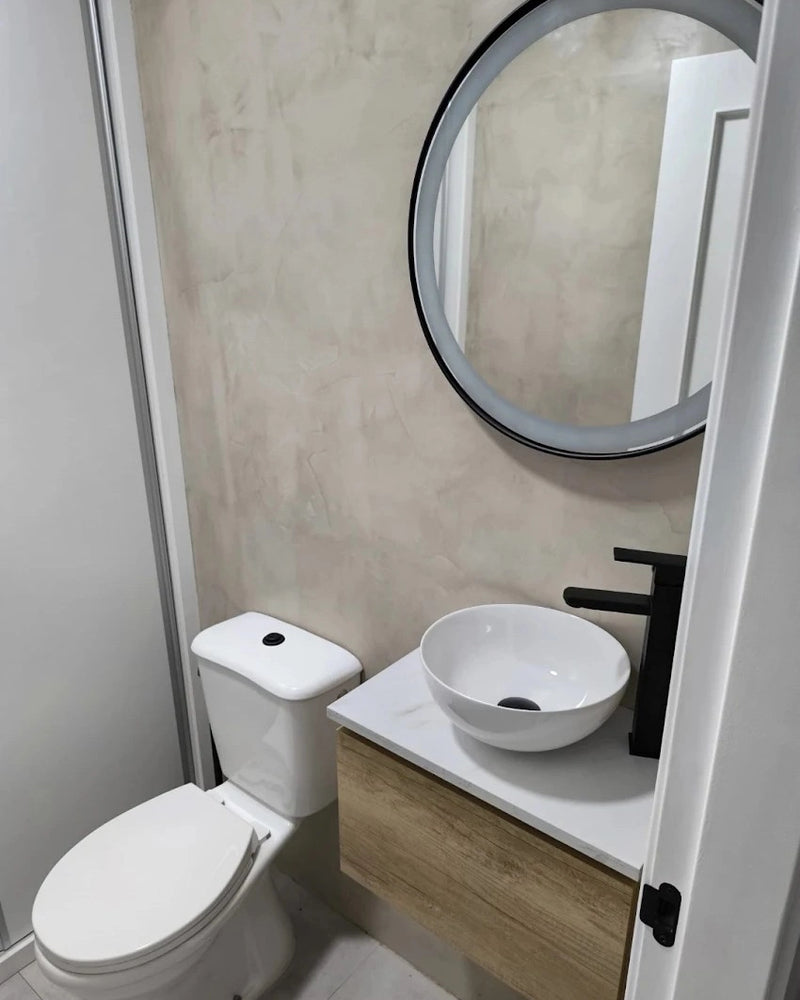
Cristina García Gutiérrez’s cloakroom, after
Bathroom

Cristina García Gutiérrez’s cloakroom

She bought ready-to-use microcement for porous surfaces and took on her first renovation without professional help. She describes a soft, smooth feel and a cloakroom finished without building work, following the steps on Instagram. Review published on Google.

Renovation by Cristina García Gutiérrez

See all eight kits
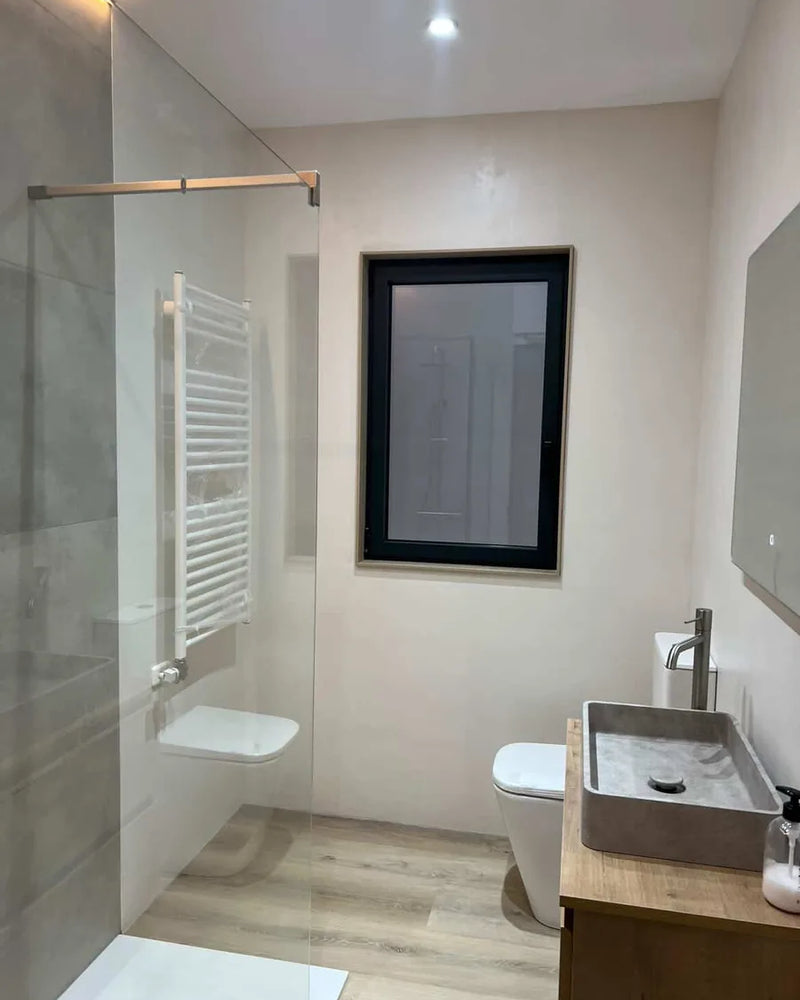
Marta’s bathroom in Barcelona: 3.9 m² over tiles, step by step, after
Bathroom

Marta’s bathroom in Barcelona: 3.9 m² over tiles, step by step

Color Blanco · 16 m² · Azulejo cerámico esmaltado, en buen estado

A 3.9 m² bathroom tiled up to the ceiling in glazed ceramic tile, covered without removing anything: joints filled with Smart Jointer, Smart Primer PLUS primer, two coats of Smart Base, two of Smart Liso and varnish. Marta used the 16 m² bathroom kit in Blanco, which under the warm light of the room reads as a bone tone, and it took her about eleven days fitting the work around the drying times. A case documented step by step on the Smartcret blog.

Renovation by Marta Oliveras (Barcelona)

See detail Marta’s bathroom in Barcelona: 3.9 m² over tiles, step by step, see detail
See the kit for this project
Pablo Ramírez Padilla’s bathroom, after
Bathroom

Pablo Ramírez Padilla’s bathroom

Color Blanco · 8 m² · Azulejo

He points out that you do not need to be a professional to apply the product and that he was able to clear up his questions on WhatsApp. He values the finish and the quality of the material. Review published on Google.

Renovation by Pablo Ramírez Padilla

See the kit for this project
Aaron Garrido’s bathroom, after
Bathroom

Aaron Garrido’s bathroom

16 m²

He applied the microcement over tiles with the 16 m² kit and had enough left for a few extra metres. He mentions a shade mix-up that was solved with a delivery in two days. Review published on Google.

Renovation by Aaron Garrido

See all eight kits
Alexia Maitrejean's bedroom (@alexia_s_world): wall in Cafe, after
Walls

Alexia Maitrejean's bedroom (@alexia_s_world): wall in Cafe

Color Cafe · Papel pintado

The bedroom wall, previously wallpapered, was covered with microcement in Cafe. The renovation is published on the Smartcret blog with a credit.

Renovation by Alexia Maitrejean (@alexia_s_world)

See detail Alexia Maitrejean's bedroom (@alexia_s_world): wall in Cafe, see detail
See the kit for this project
Ana Facio's bathroom (@ana_facio): wall in Blanco, after
Bathroom

Ana Facio's bathroom (@ana_facio): wall in Blanco

Color Blanco · Azulejos y baldosas

The tiled bathroom wall was covered with microcement in Blanco, keeping the wallpaper on the upper section. The photos are published with a credit on the ready-to-use microcement page.

Renovation by Ana Facio (@ana_facio)

See the kit for this project
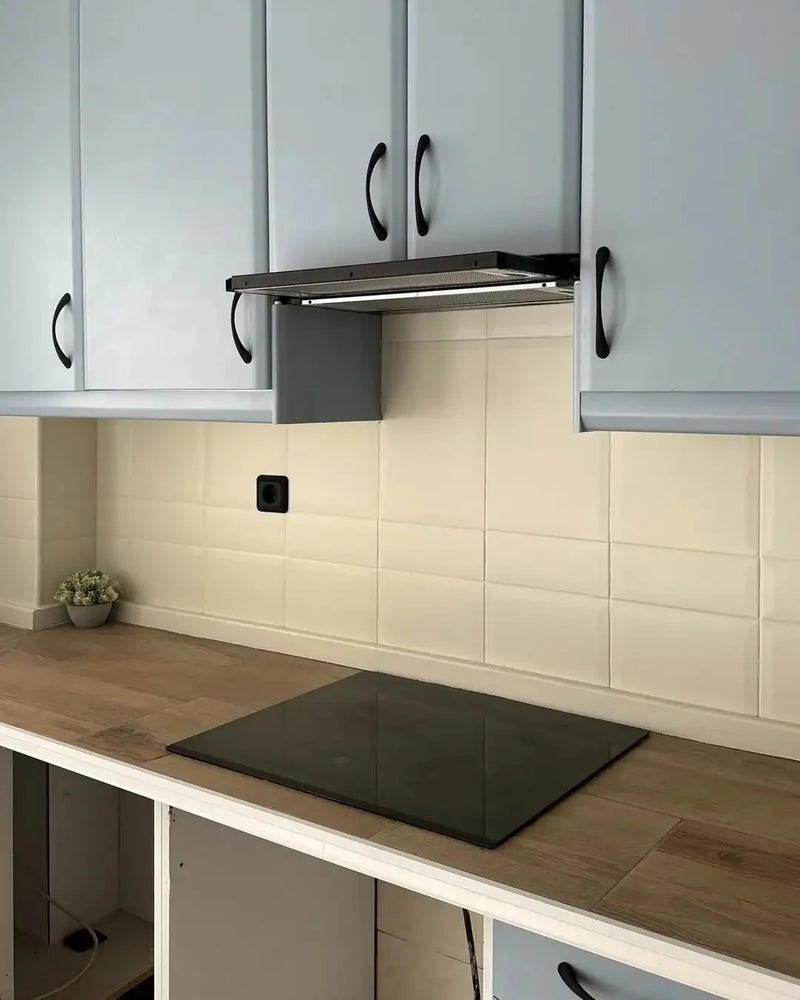
Chloe's kitchen (@crafts_cm) with Smartcover Tiles, after
Kitchen

Chloe's kitchen (@crafts_cm) with Smartcover Tiles

Azulejos y baldosas

The kitchen tiles were renewed with Smartcover Tiles, a tile paint and not a microcement kit. The change is published on the Smartcret blog with a credit.

Renovation by Chloe (@crafts_cm)

See the kit for this project
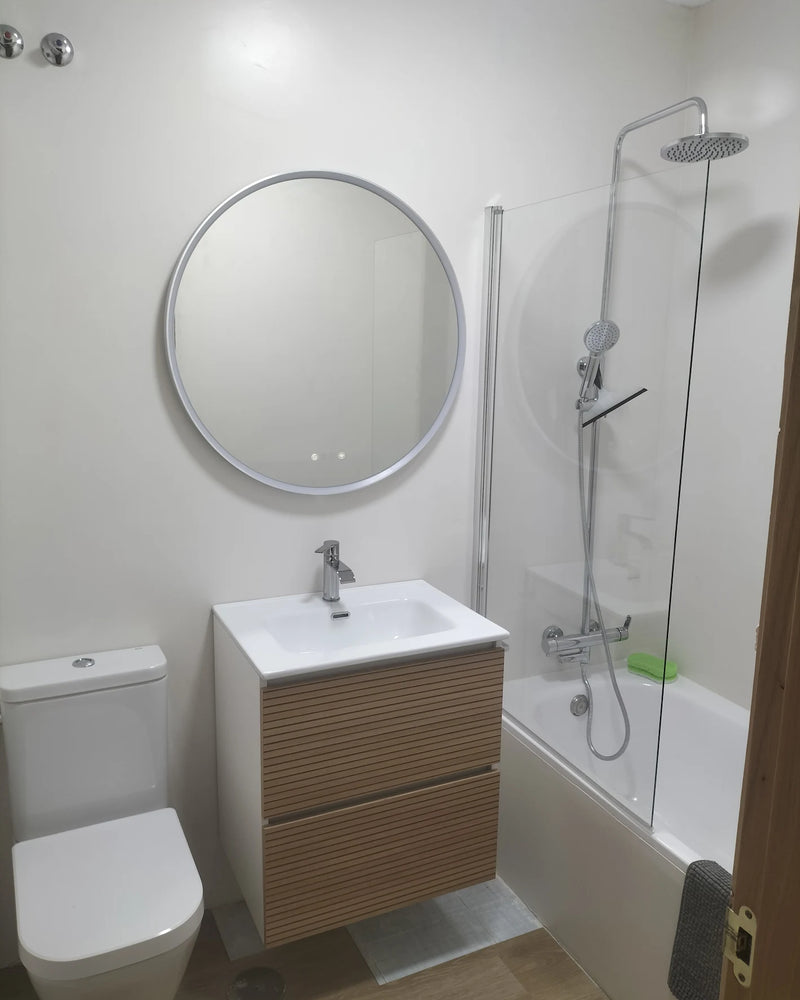
Corpore Corpore’s bathroom, afterBathroom

Corpore Corpore’s bathroom

16 m²

The 16 m² kit was bought for a bathroom, and the finish, the savings on building work and how easy it is to apply by following the tutorials are all valued. The same is planned for the second bathroom. Review published on Google.

Renovation by Corpore Corpore

See detail Corpore Corpore’s bathroom, see detail
See all eight kits
Estela Moreno's living room (@soyestelamorena): wall in Spike, afterWalls

Estela Moreno's living room (@soyestelamorena): wall in Spike

Color Spike

The living room wall was finished with microcement in Spike. The photo is published with a credit on the ready-to-use microcement page; there is no before image.

Renovation by Estela Moreno (@soyestelamorena)

See the kit for this project
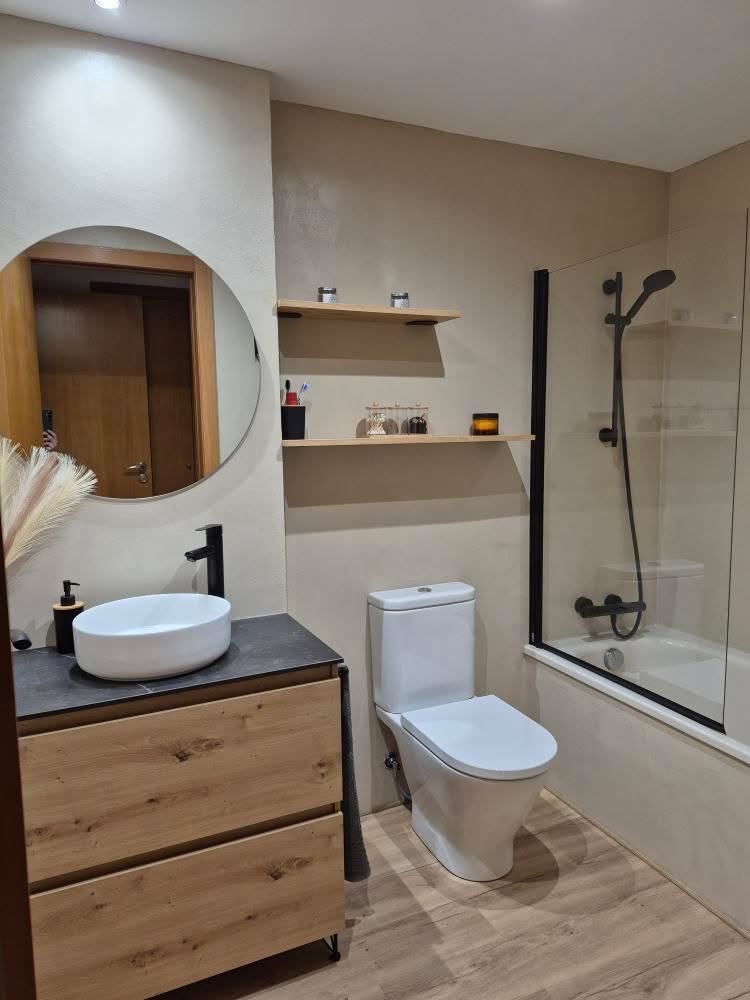
JP G’s bathroom, afterBathroom

JP G’s bathroom

He renovated the bathroom with microcement without removing the previous surface. He describes it as a good option for any room. Review published on Google.

Renovation by JP G

See detail JP G’s bathroom, see detail
See all eight kits
Lucía Agatiello’s bathroom, afterBathroom

Lucía Agatiello’s bathroom

She renovated the bathroom with microcement and kept part of the original tiling, about 8 m². She says the process is straightforward if you respect the drying times and that it took her six days. Review published on Google.

Renovation by Lucía Agatiello

See detail Lucía Agatiello’s bathroom, see detail
See all eight kits
Luis Miguel Navarro Arroyo’s bathroom, afterBathroom

Luis Miguel Navarro Arroyo’s bathroom

He was looking to renovate a bathroom without building work and found the product on Instagram. He explains that the microcement comes ready mixed and that the hardest part was the sanding. Review published on Google.

Renovation by Luis Miguel Navarro Arroyo

See detail Luis Miguel Navarro Arroyo’s bathroom, see detail
See all eight kits
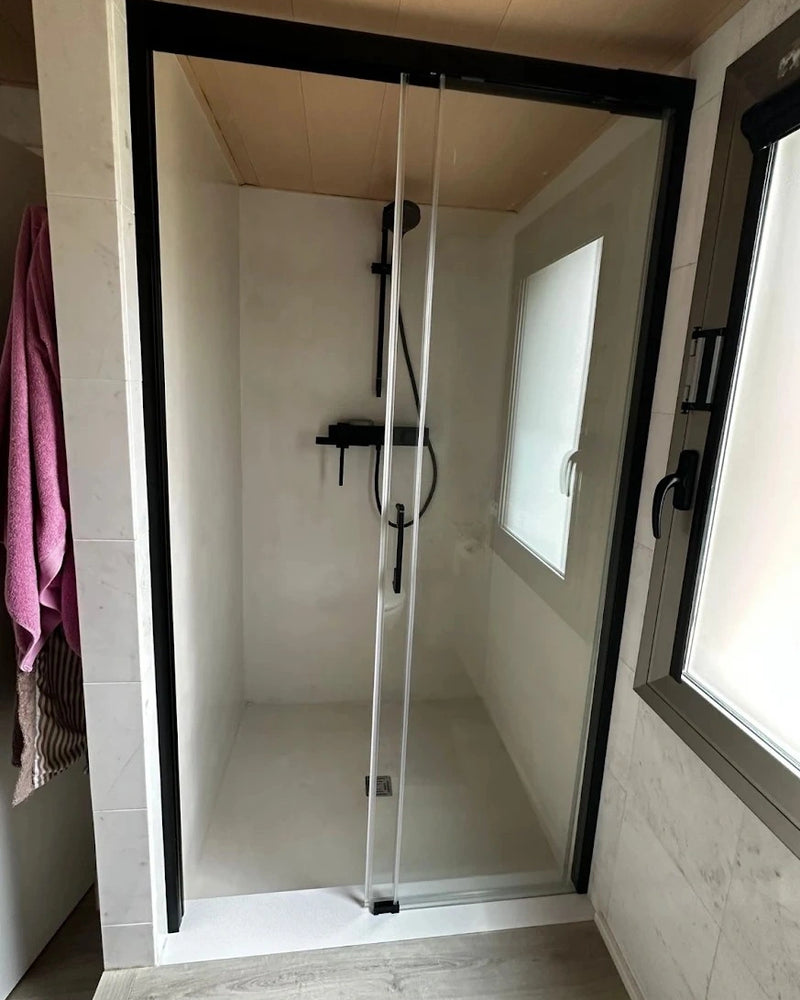
Patricia Jorge San Andres’s shower, afterBathroom

Patricia Jorge San Andres’s shower

She covered the mosaic tile shower floor with microcement and the result gives no hint of what was underneath. She highlights how clean the seamless finish looks. Review published on Google.

Renovation by Patricia Jorge San Andres

See all eight kits
Rubén’s bathroom, after
Bathroom

Rubén’s bathroom

He values the product and the result after renovating the bathroom without building work. He says he is already thinking about the next renovation with the same system. Review published on Google.

Renovation by Rubén

See all eight kits
Sara’s bathroom: mosaic walls in Bone, after
Bathroom

Sara’s bathroom: mosaic walls in Bone

Color Bone · 8 m² · Azulejo tipo mosaico, en buen estado

The main bedroom’s bathroom, with mosaic tile, had its walls covered with the 8 m² bathroom kit in Bone to cover 4.4 m² with room to spare. The most laborious part was filling the joints between the small pieces; the application took four days plus the week of varnish curing with Smart Booster. Without building work and without removing the tiles.

Renovation by Sara

See the kit for this project
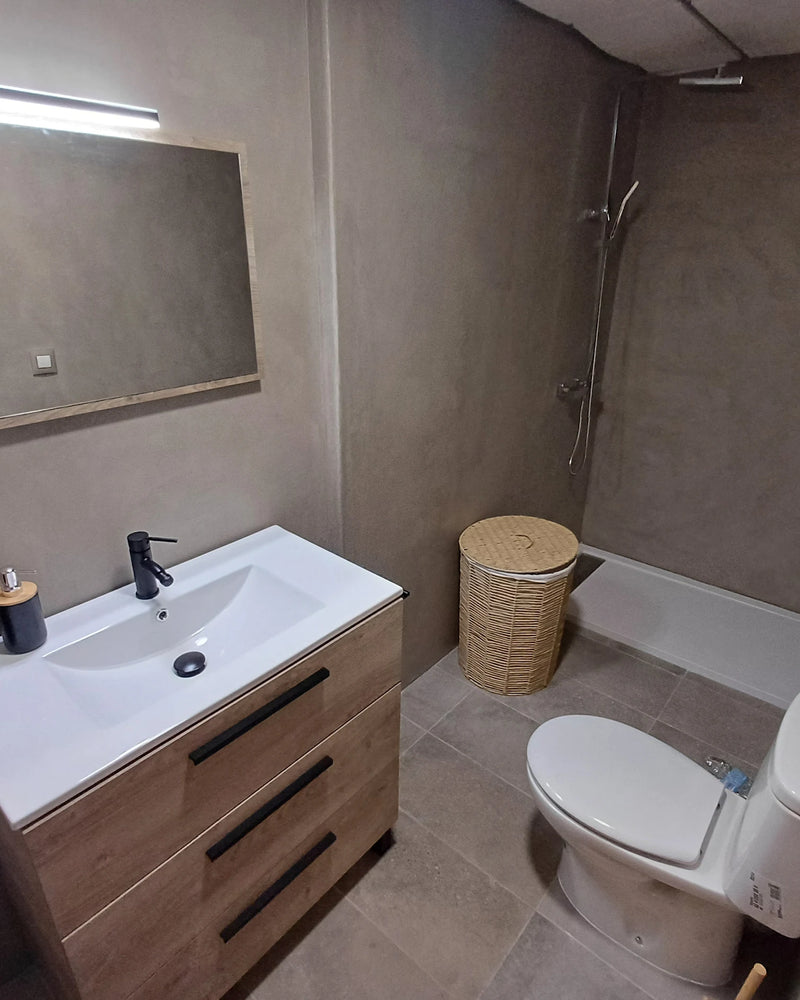
The bathroom of @jade.doutch: microcement walls, after
Bathroom

The bathroom of @jade.doutch: microcement walls

The bathroom was fully renovated and damaged walls were covered with microcement. The transformation is published on the Smartcret blog with a credit; the colour is still to be confirmed.

Renovation by @jade.doutch

See the kit for this project
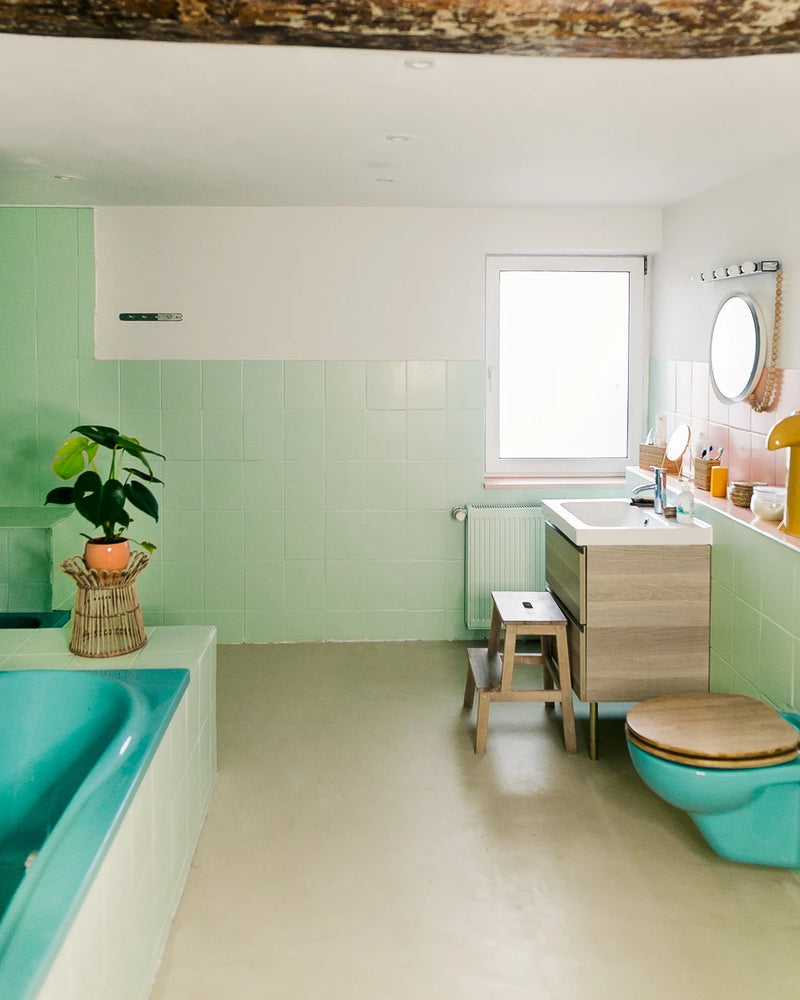
The bathroom of @the.kaisers: floor in Bone, after
Bathroom

The bathroom of @the.kaisers: floor in Bone

Color Bone · Azulejos y baldosas

The tiled bathroom floor was covered with microcement in Bone, keeping the green wall tiles. The renovation is published on the Smartcret blog with a credit.

Renovation by @the.kaisers

See the kit for this project
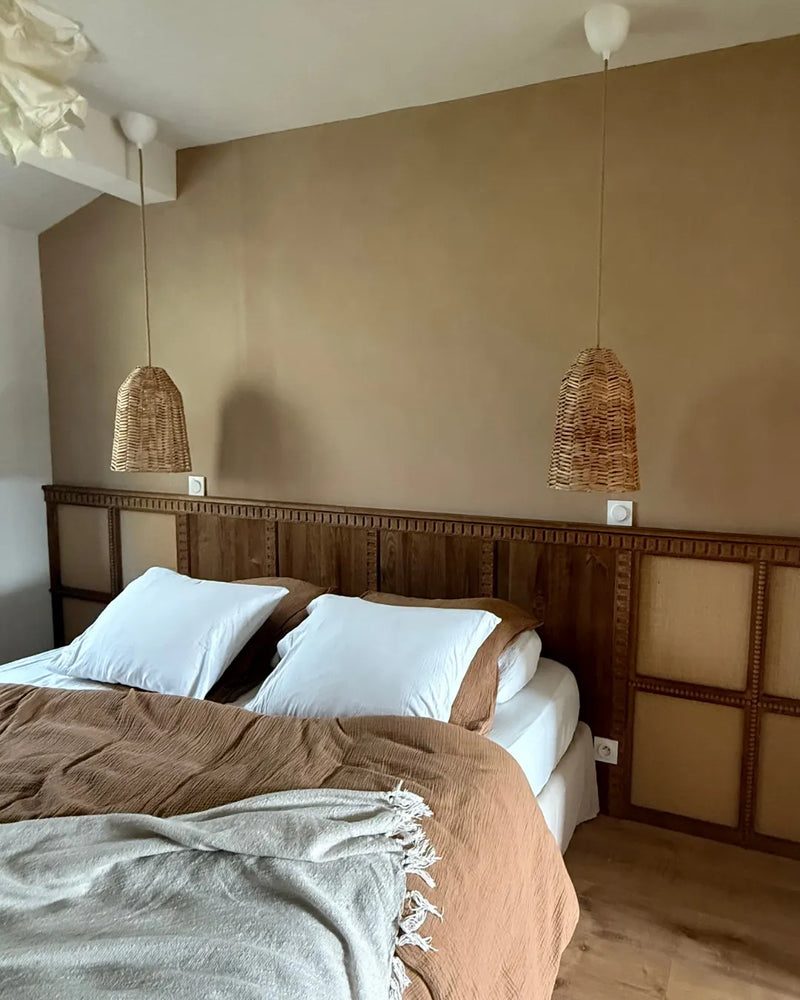
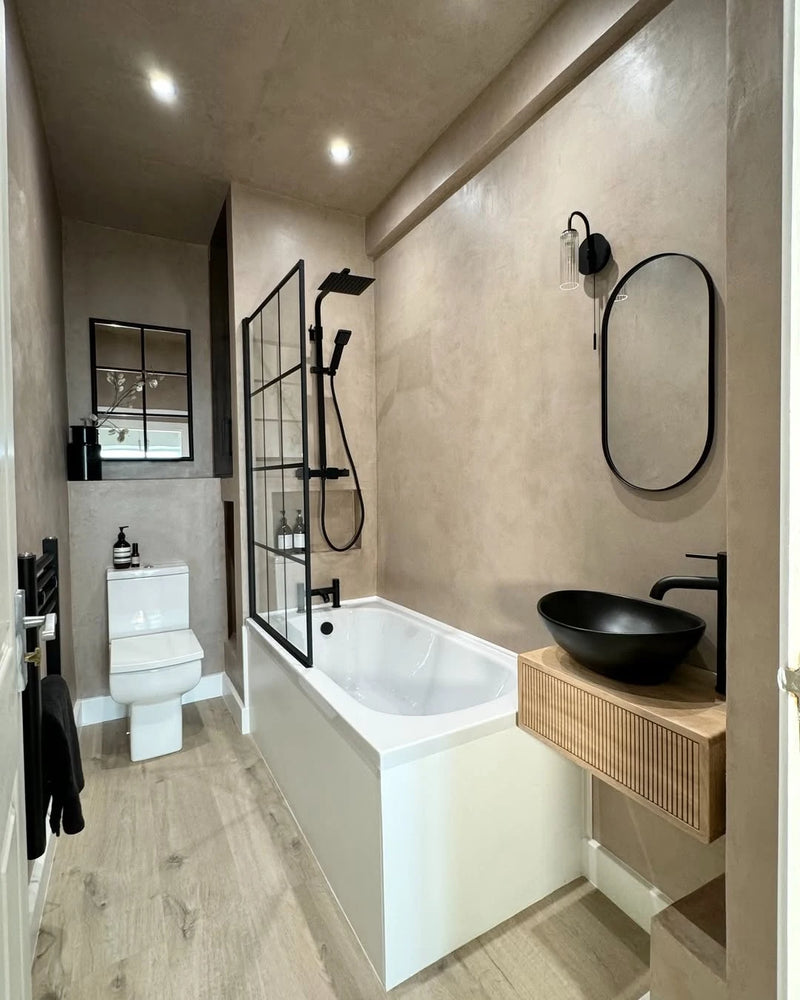
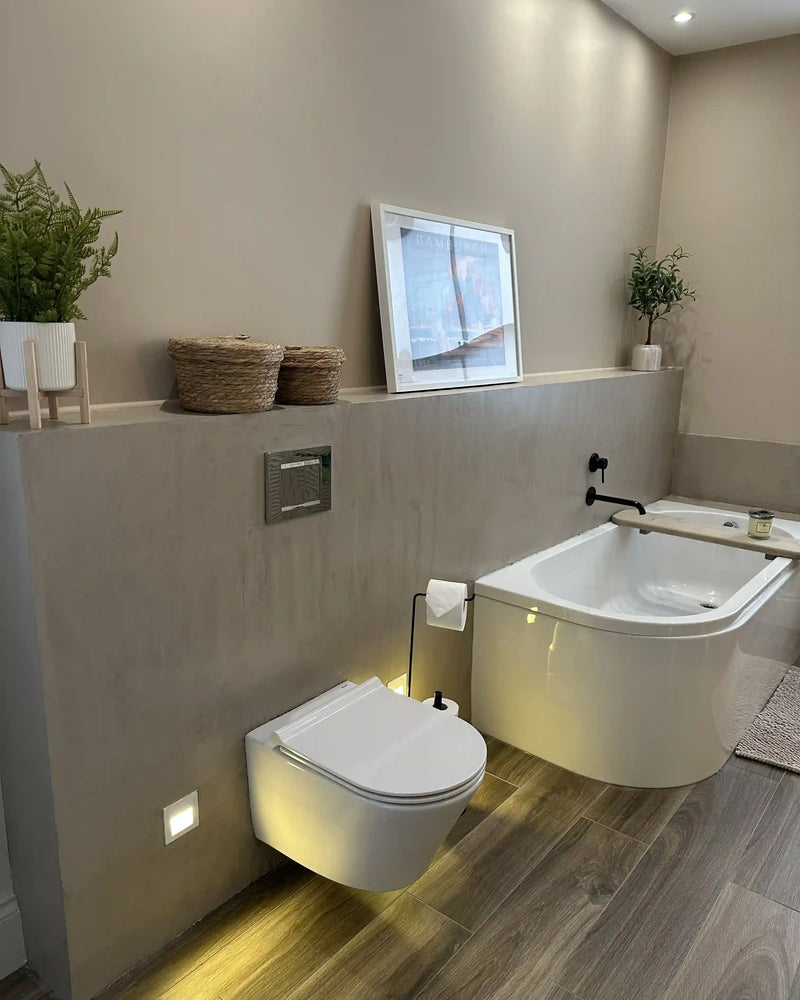
The bathroom of @thelittlehouseinlondon: wall in Spike, after
Bathroom

The bathroom of @thelittlehouseinlondon: wall in Spike

Color Spike · Azulejos y baldosas

The tiled wall beside the bathtub was covered with microcement in Spike. The renovation is published on the Smartcret blog with a credit.

Renovation by @thelittlehouseinlondon

See the kit for this project
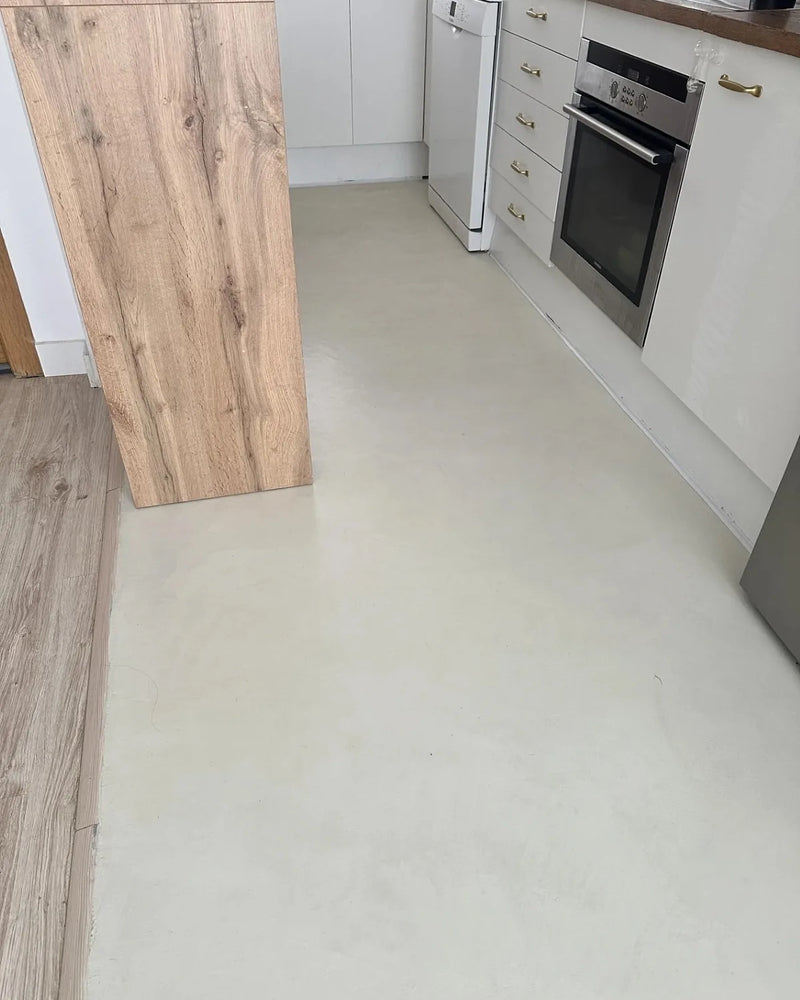
The kitchen of @jamilaamorr: floor in Porcelain, after
Kitchen

The kitchen of @jamilaamorr: floor in Porcelain

Color Porcelain · Azulejos y baldosas

A tiled floor became a seamless microcement floor in Porcelain, without lifting the previous tiles. The renovation is published on the Smartcret blog with a credit.

Renovation by @jamilaamorr

See the kit for this project
The kitchen of @jamilaamorr: floor in Porcelain, after
Kitchen

The kitchen of @jamilaamorr: floor in Porcelain

Color Porcelain · Azulejos y baldosas

A tiled floor became a seamless microcement floor in Porcelain, without lifting the previous tiles. The renovation is published on the Smartcret blog with a credit.

Renovation by @jamilaamorr

See the kit for this project
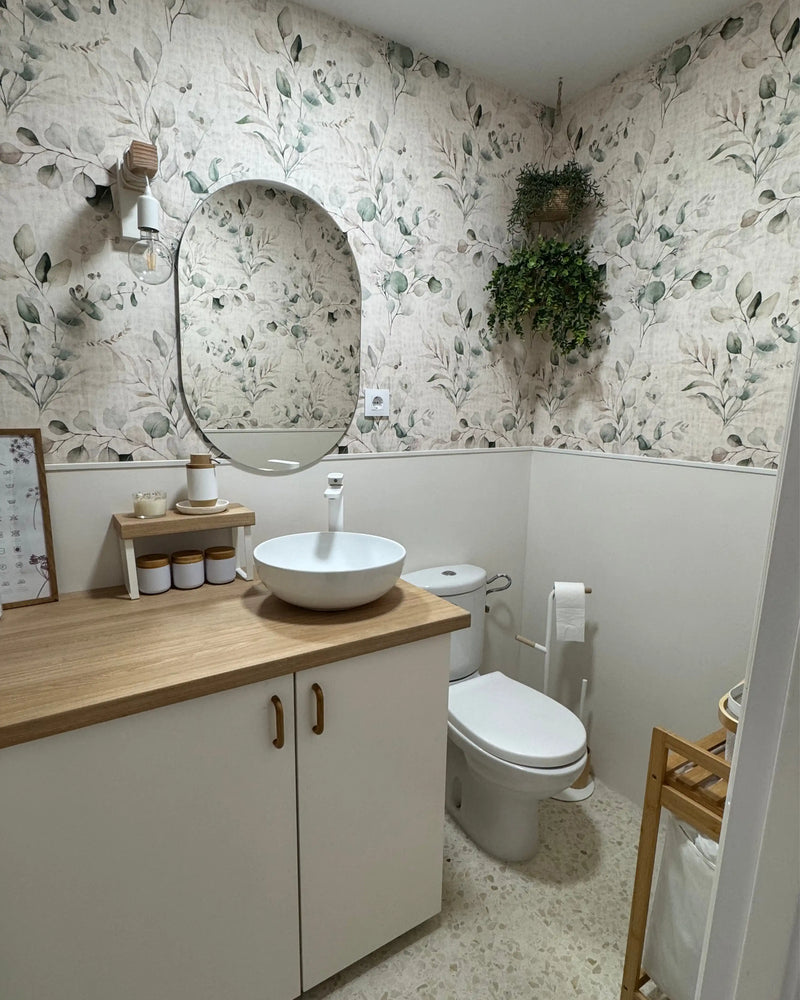
More renovations on social media